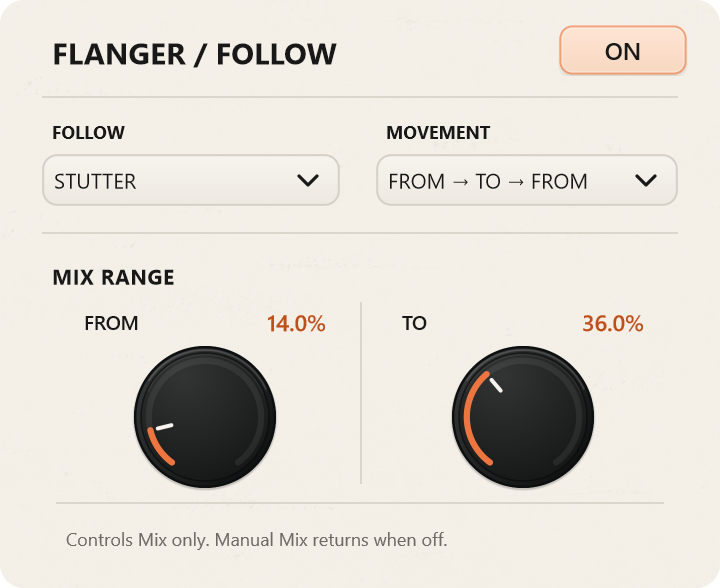
FROM → TO
Moves through the selected lengths, then starts again from FROM.
 Back home
EASY STUTTER
A vocal syllable becomes a hook. A drum hit turns into a roll. A small detail in a synth phrase becomes the part you build the track around.
Easy Stutter captures incoming audio and repeats it at a length you choose. From there, you can decide how often the captured material changes, move between repeat lengths automatically, reshape the sound with effects and save the moments you want to use again.
It works as a quick rhythmic effect, but there’s room to go further when a simple repeat starts becoming something else.
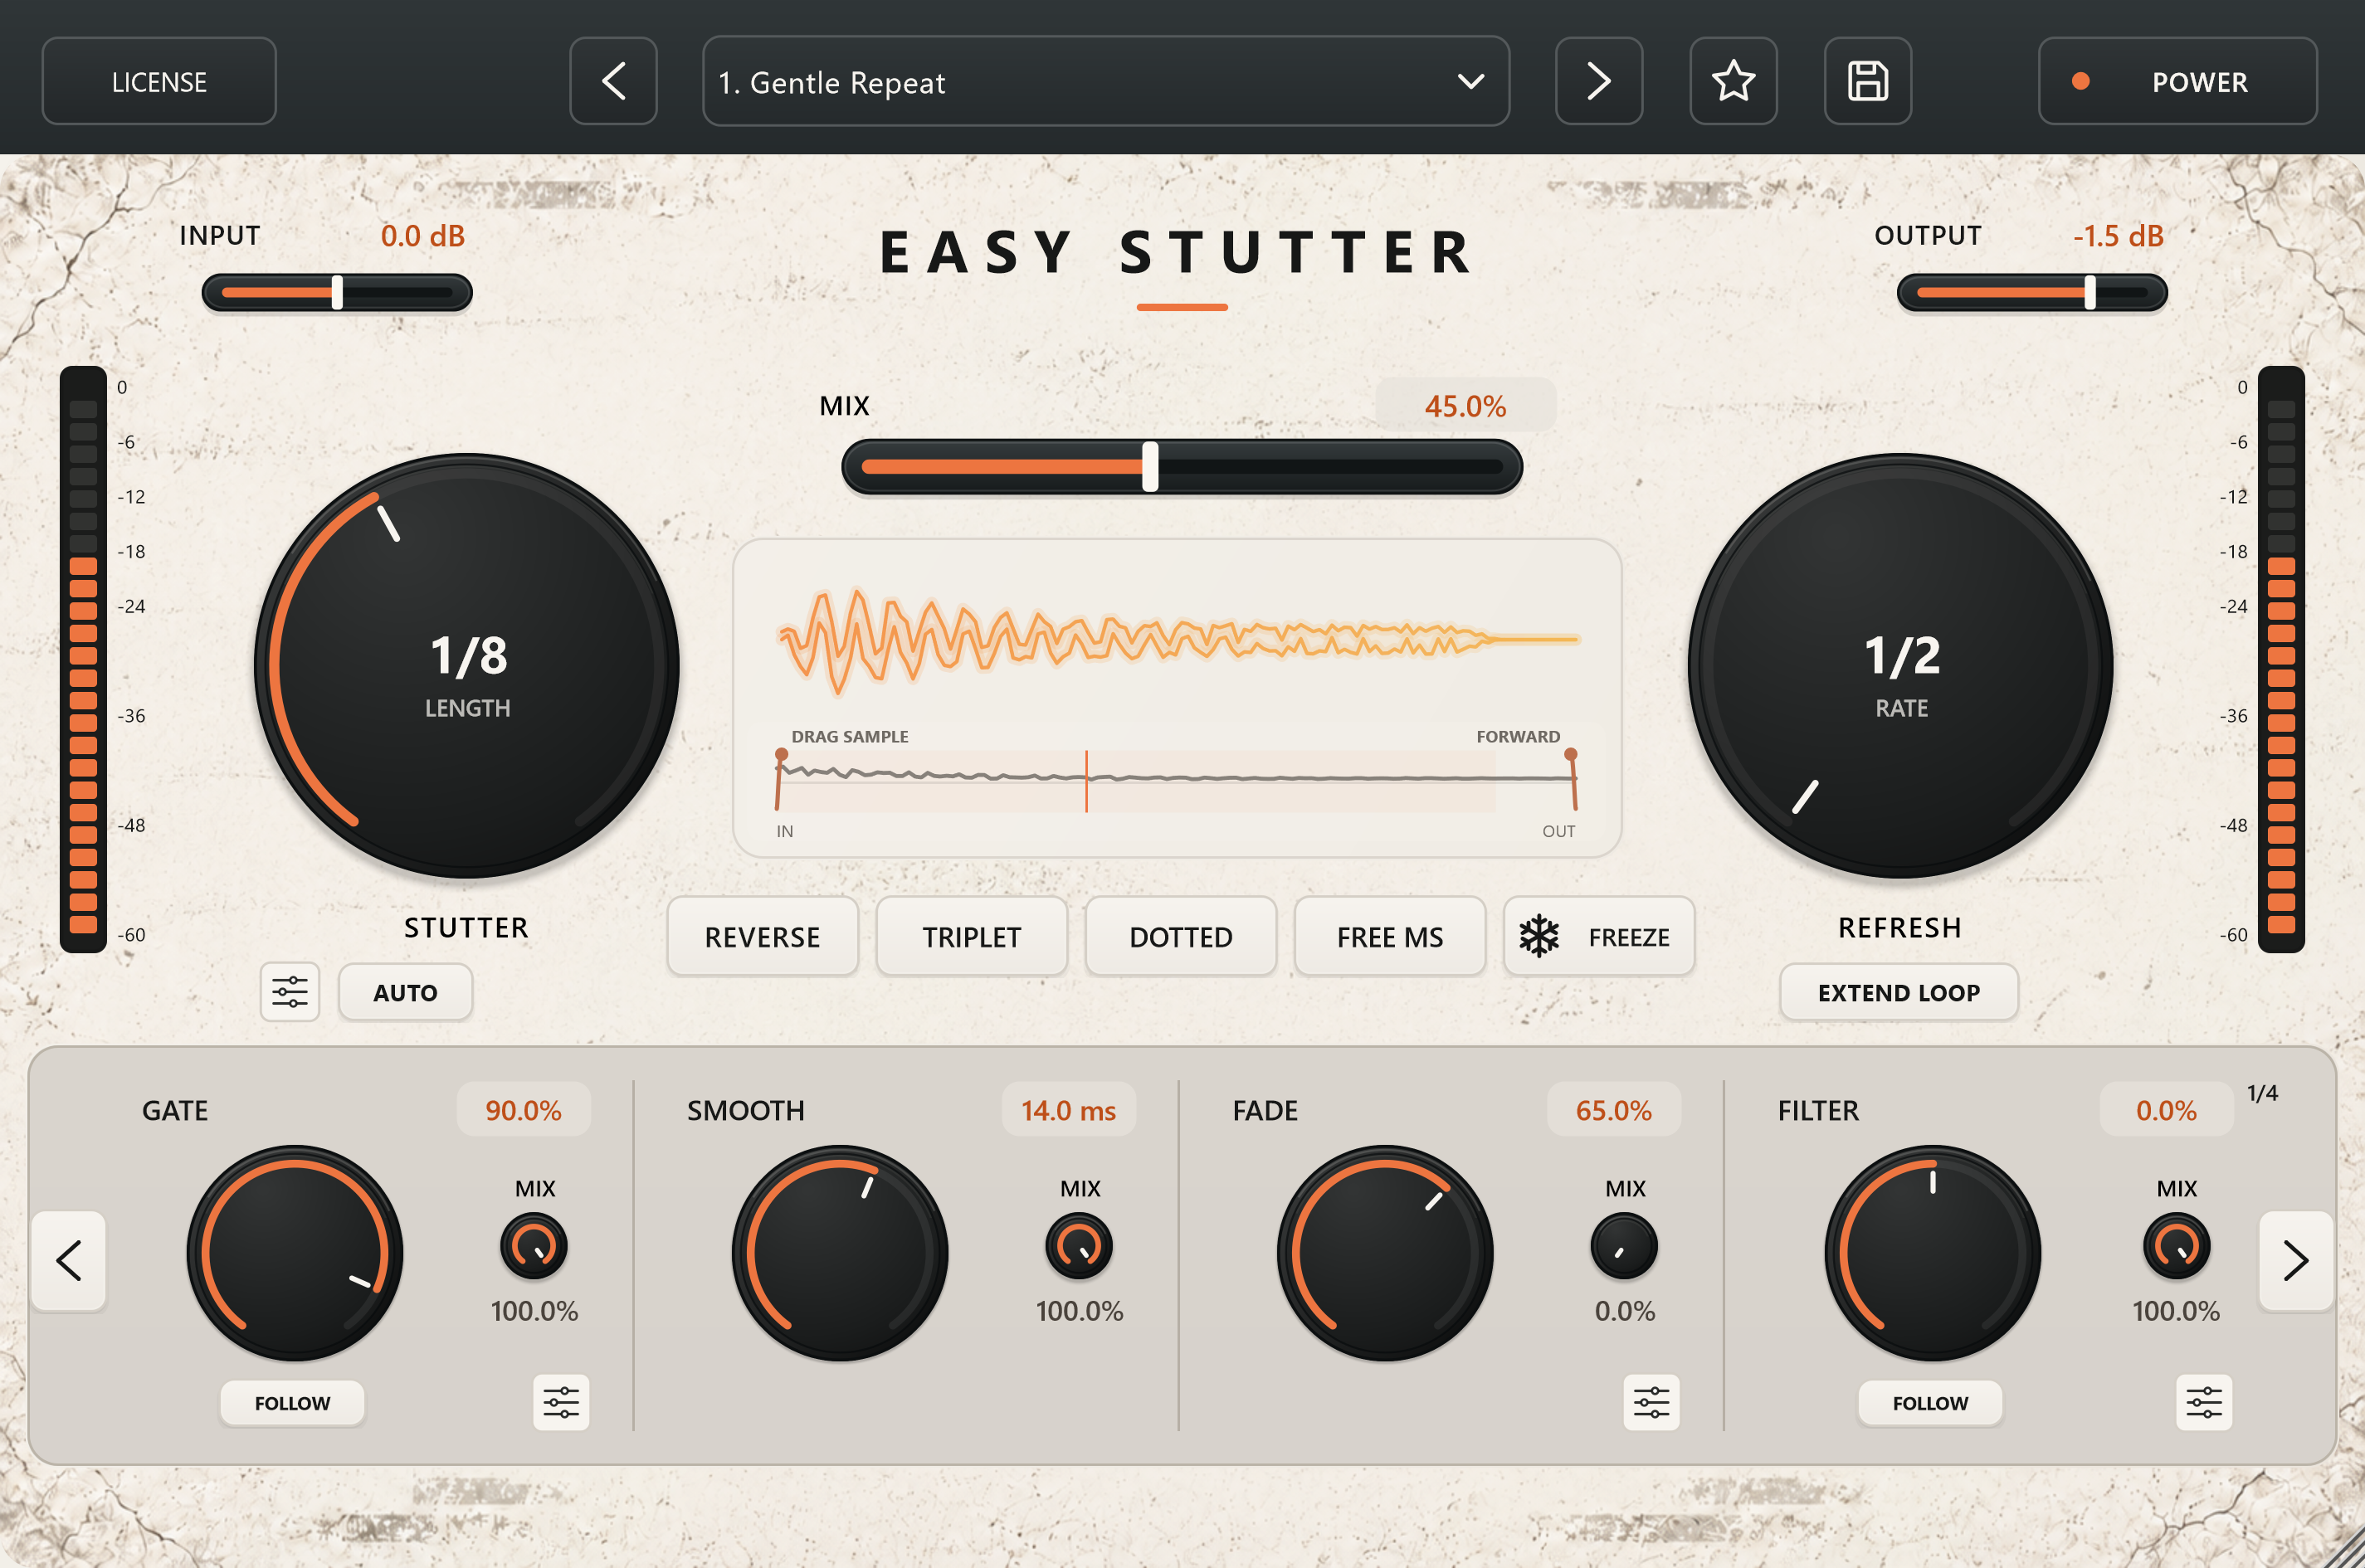
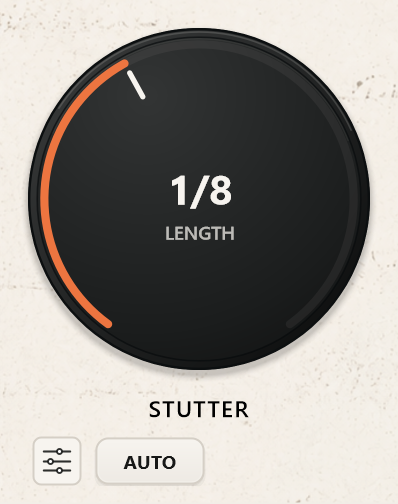
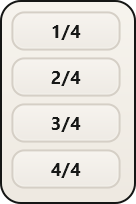
Stutter sets the length of the repeated slice, from 1/2 to 1/64. Longer settings keep more of the original phrase intact. Shorter settings turn it into tighter cuts and faster repetitions.
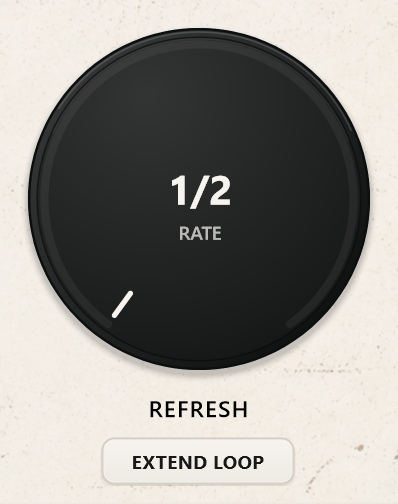
Refresh sets how often new audio is captured, with divisions from 1/2 to 1/32. A slower Refresh holds onto the same material for longer; a faster setting brings fresh material into the pattern more often.
These controls are independent. You can repeat a short slice several times before replacing it, or use longer slices with a more frequent capture rhythm. Changing the relationship between the two is often enough to find a completely new pattern.
Use Straight, Triplet or Dotted timing to change the feel of the repeats.

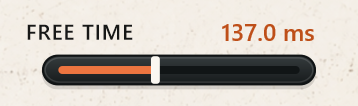
For durations outside musical divisions, Free MS lets you set the repeat length directly, from 20 to 2,000 milliseconds. It’s useful for anything from short, buzzing repetitions to slower loops that deliberately sit outside the beat grid.
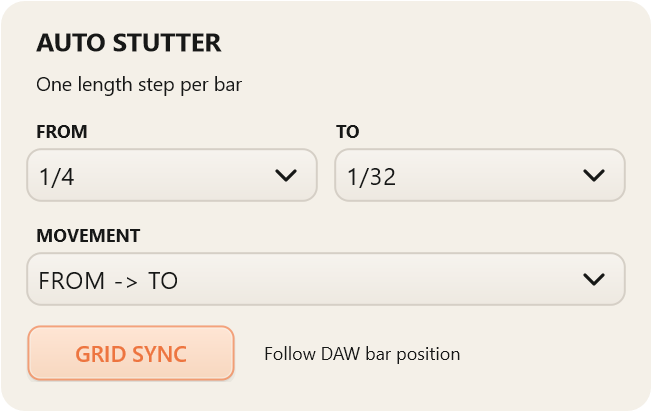
Auto changes the Stutter length for you, moving through a range defined by FROM and TO, one step per bar.
Moves through the selected lengths, then starts again from FROM.
Moves to the other end of the range and back.
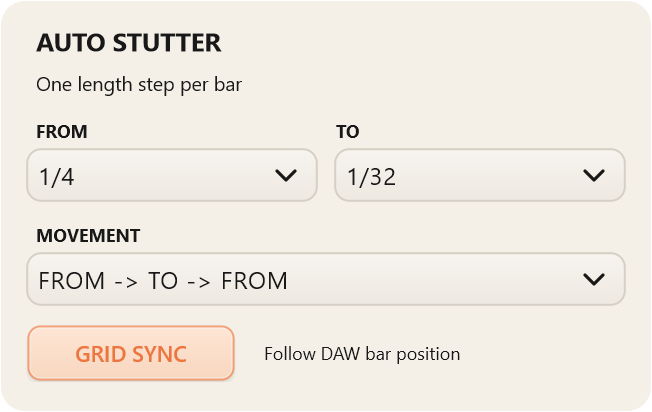
For example, a forward sequence from 1/4 to 1/32 runs through 1/4 → 1/8 → 1/16 → 1/32, then repeats. The return pattern comes back through the intermediate lengths before starting the next cycle.
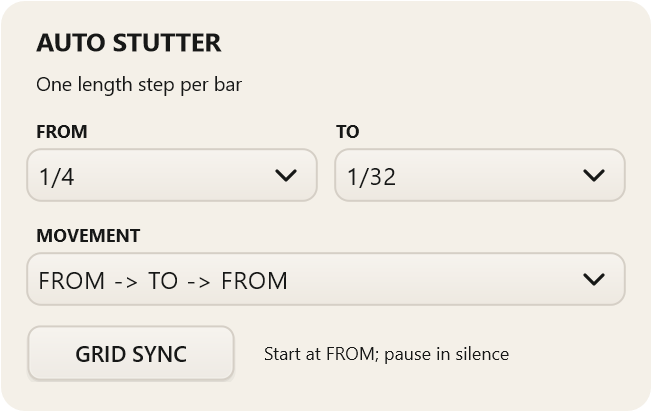
With Grid Sync on, the Auto sequence follows the DAW’s bar position. The same place in the arrangement corresponds to the same step in the sequence.
With Grid Sync off, Auto starts from FROM when incoming audio begins, rather than choosing its step from the song position. It continues across DAW loop repeats and starts again from FROM after a new playback start or sustained silence.
Turning Grid Sync off changes where the Auto sequence begins; it does not disconnect the repeat lengths from the host tempo.
Reverse plays captured slices backwards. Use it for reversed vocal fragments, pulling textures or a different attack on familiar material.

Freeze holds the current captured slice and prevents Refresh from replacing it. Once you catch a useful moment, you can keep repeating it while adjusting the timing and effects.
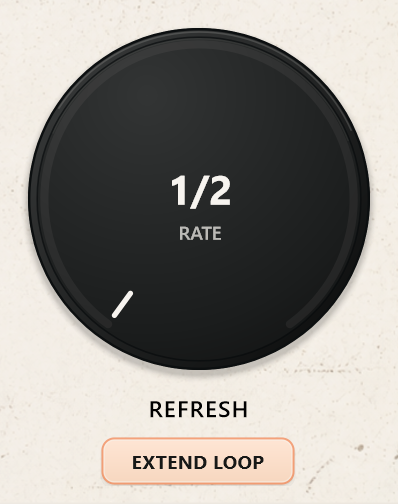
Extend Loop keeps the previous slice repeating while the next complete slice is being captured. With it off, the normal Refresh behaviour can let the incoming signal through during that capture period. With it on, the existing loop carries the sound until the replacement is ready.
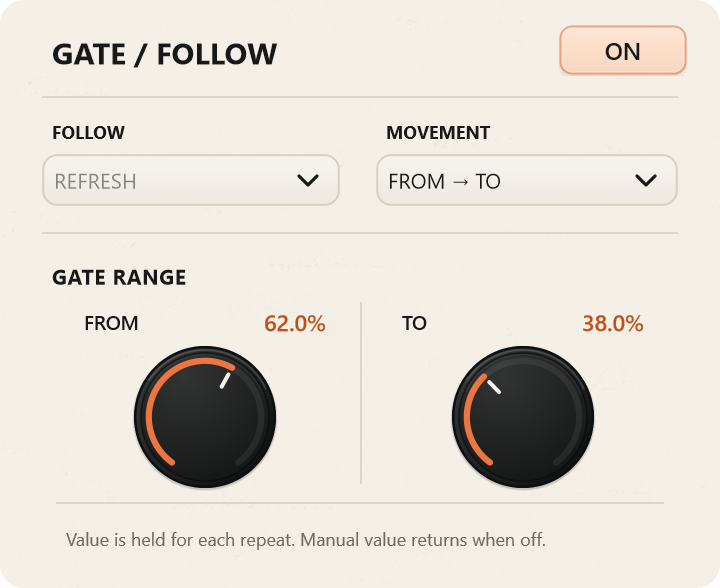
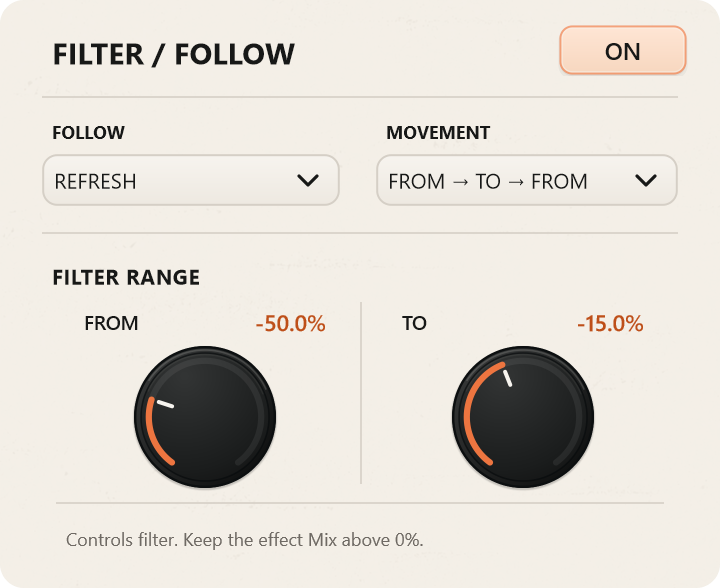
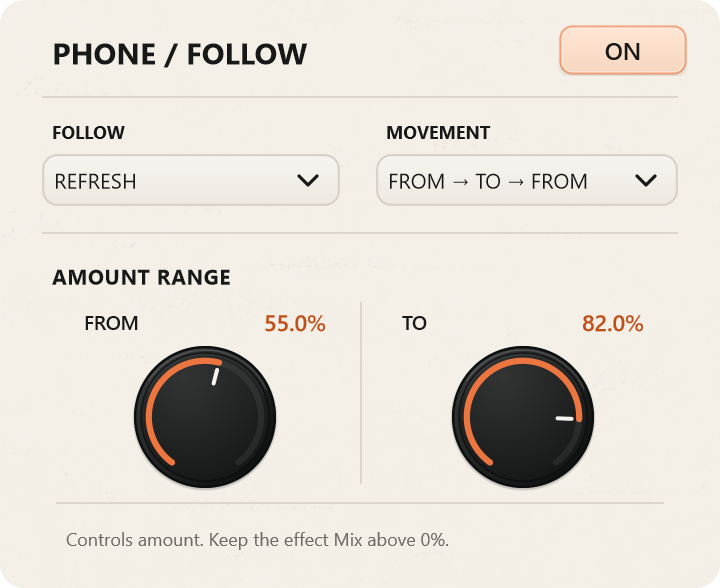
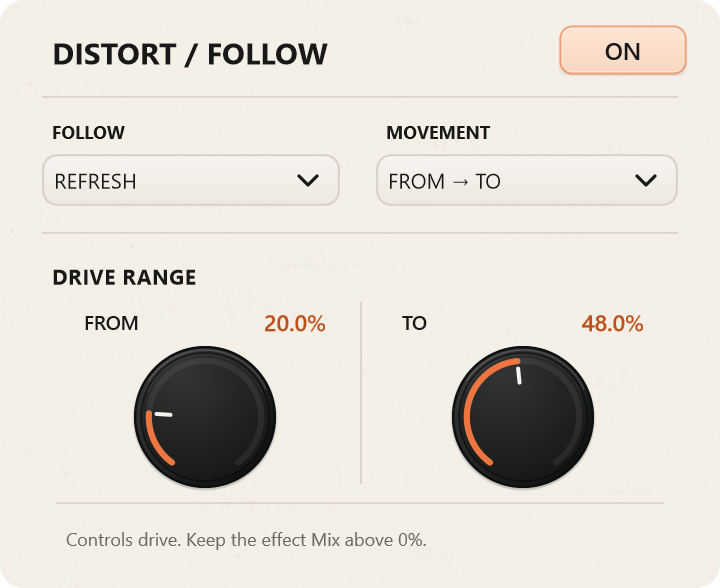
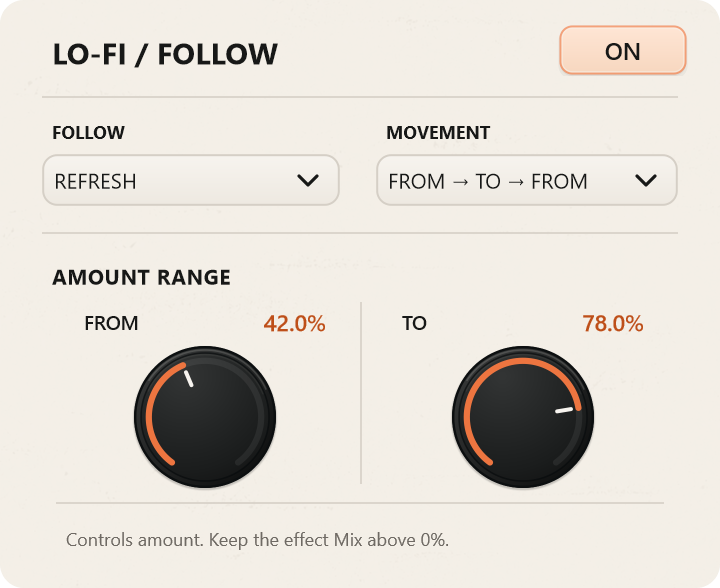
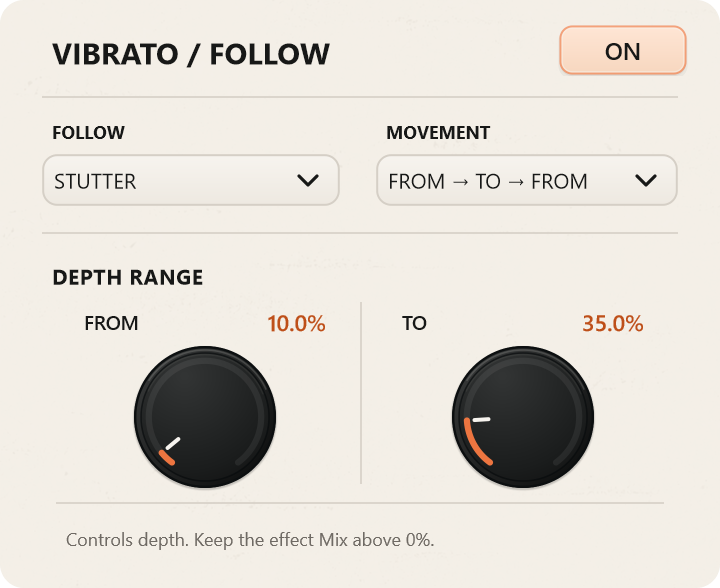
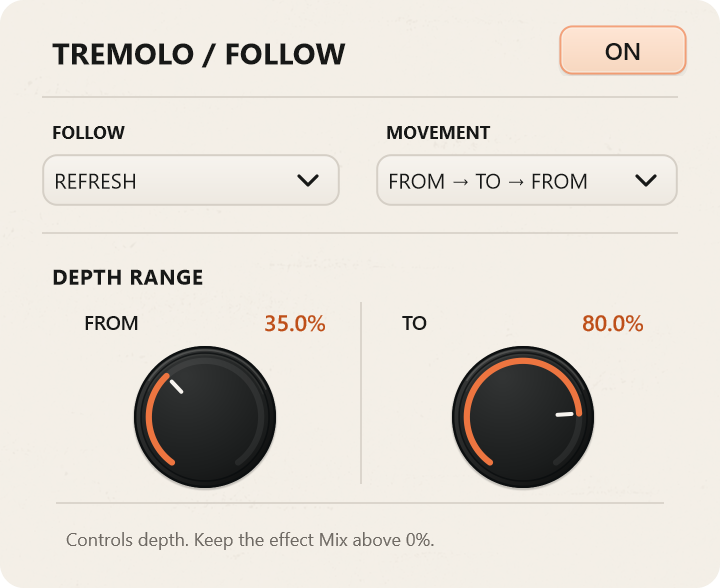
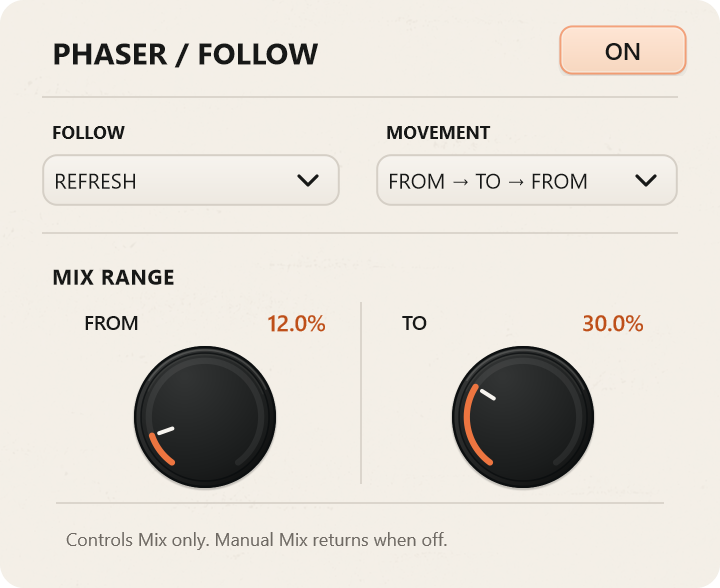
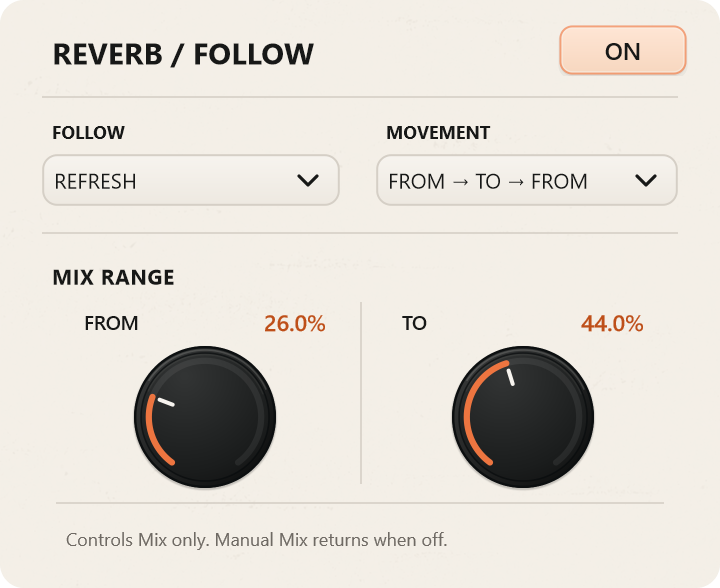
Follow moves a selected effect parameter between two values in time with Stutter or Refresh. Set the range, then choose FROM → TO or FROM → TO → FROM movement.
You might sweep a filter across each repeat, increase distortion through a Refresh cycle or bring reverb in and out without drawing automation.
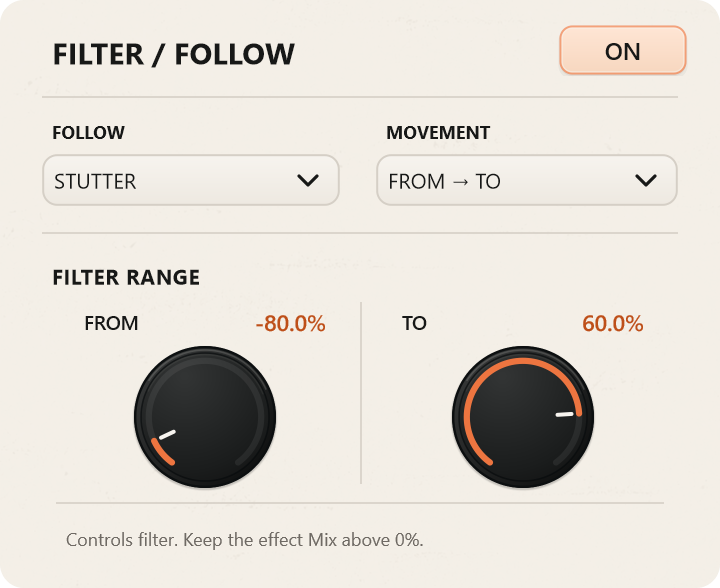
The parameter controlled by Follow depends on the effect:
| Effect | What Follow controls |
|---|---|
| Gate | Audible length of each repeat |
| Filter | Filter position |
| Phone | Effect amount |
| Distort | Drive |
| Lo-Fi | Effect amount |
| Vibrato | Pitch-modulation depth |
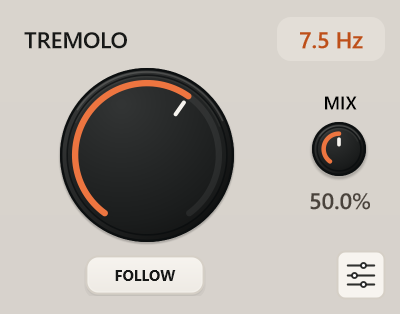
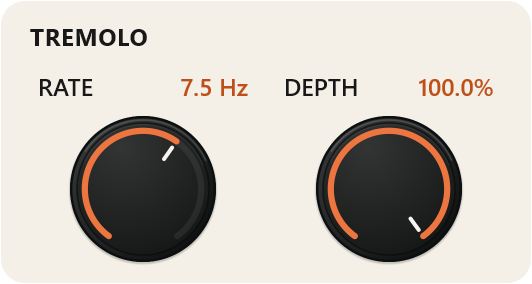
| Tremolo | Volume-modulation depth |
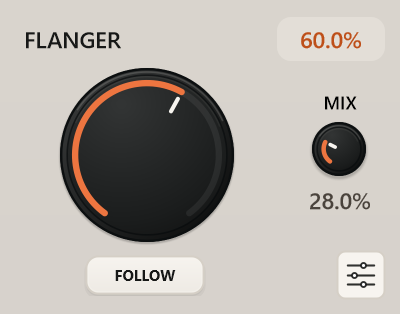
| Flanger | Effect Mix |
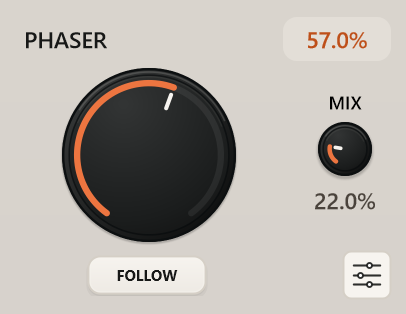
| Phaser | Effect Mix |
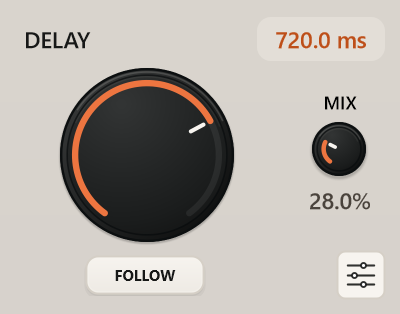
| Delay | Effect Mix |
| Reverb | Effect Mix |
Gate follows Refresh only. Its value is held for each individual repeat, so the gate length does not move through a slice that is already playing.
The controls display their active Follow values as the audio plays. Turn Follow off to return to the manual setting.
Every effect has its own Mix control, so you can decide how much it contributes to the sound.
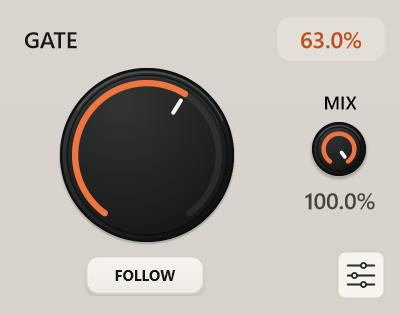
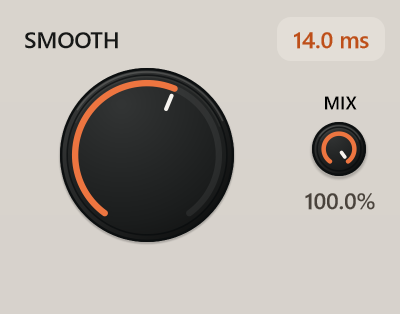
Controls how much of each repeated slice remains audible. At 100%, the full slice plays; lower settings create shorter, more separated hits. Additional Attack and Release controls shape how the gate opens and closes.
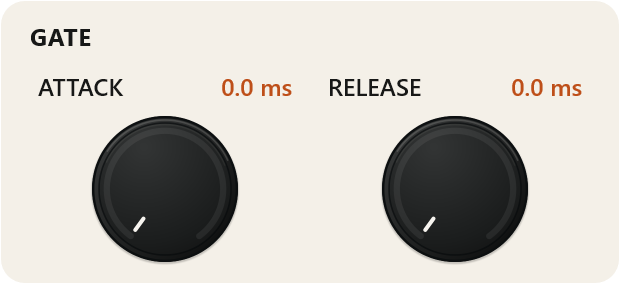
Adjusts the transition time at slice entry, gate and loop boundaries. Keep it short for more defined cuts, or increase it to soften the joins between repetitions.
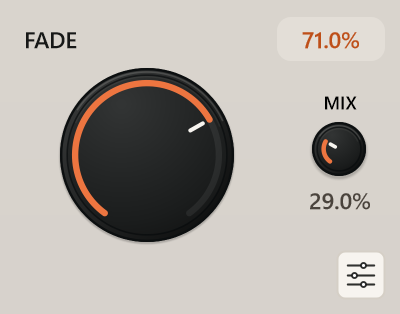
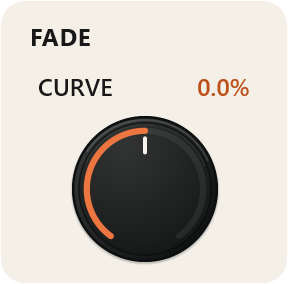
Fades the end of each repeated slice. The additional Curve control changes whether the slice holds its level for longer or fades earlier.
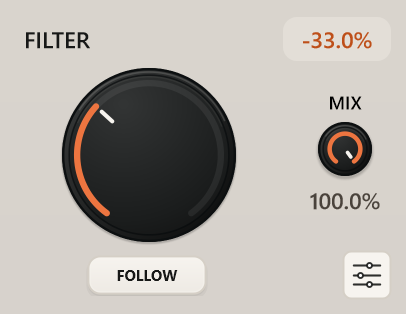
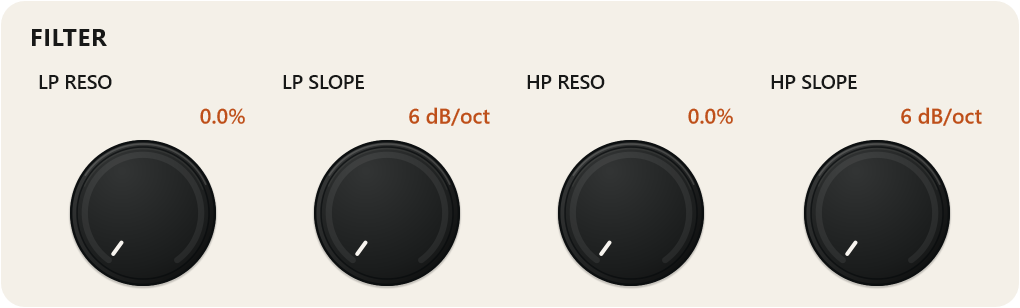
Moves from low-pass, through a neutral centre position, to high-pass filtering. Separate resonance and slope settings for each side let you choose a gentler tonal change or a more pronounced cut.
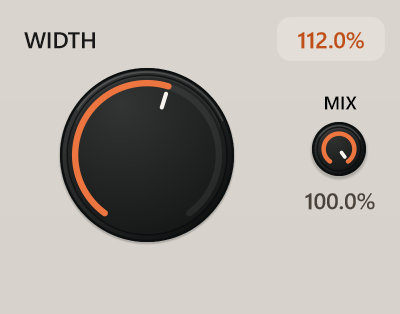
Adjusts the stereo image from mono to enhanced width. Use it to pull a repeated phrase into the centre or spread existing stereo material wider.
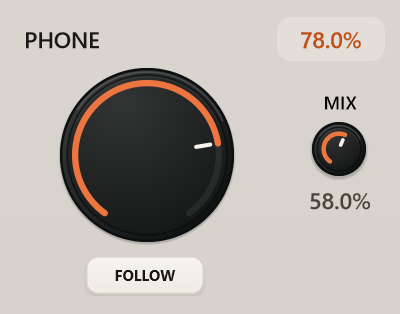
Narrows the sound into a band-limited telephone character. Useful for putting a vocal fragment in a different space or making a repeated phrase stand apart from the original.
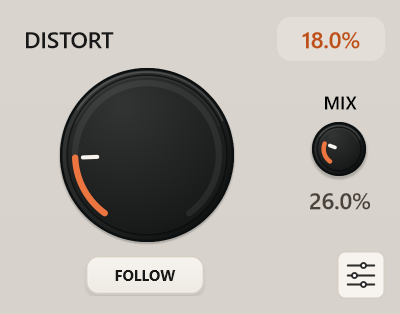
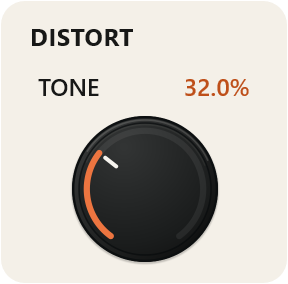
Adds drive and harder clipping, with a separate Tone control for darker or brighter results. Level compensation helps reduce large loudness changes when blending the distorted signal with its Mix control.
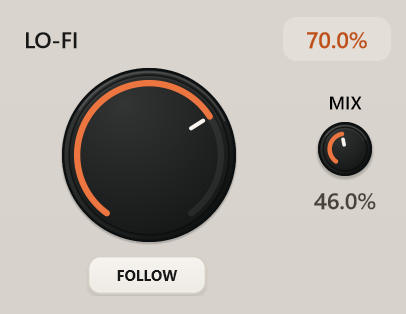
Combines sample-rate reduction with darker filtering. Adds rough digital texture to clean material or makes repeated fragments feel more worn and degraded.
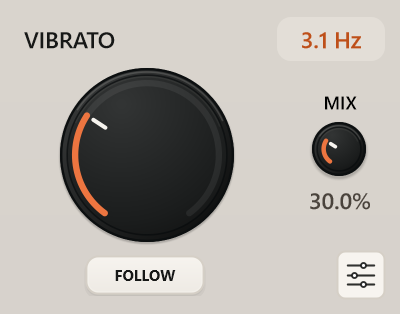
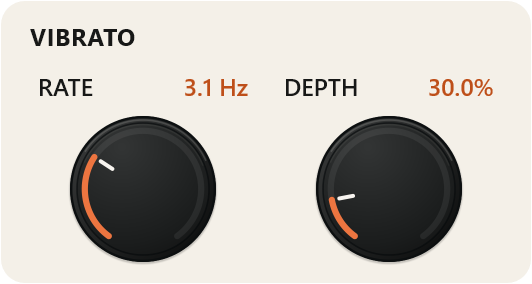
Adds periodic pitch movement. Separate Rate and Depth settings control how quickly and how far the pitch moves.
Adds rhythmic volume movement. Adjust Rate for the pulse speed and Depth for the strength of the level changes.
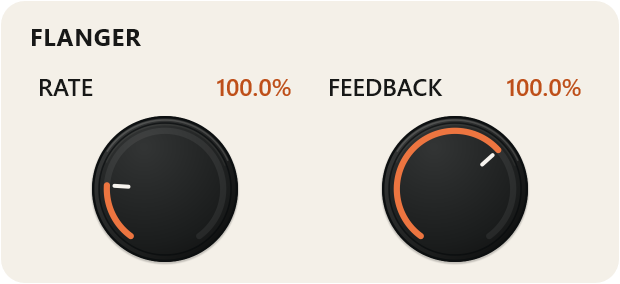
Uses a short, moving delay to create sweeping, metallic colour. Additional Rate and Feedback settings control the movement and resonance.
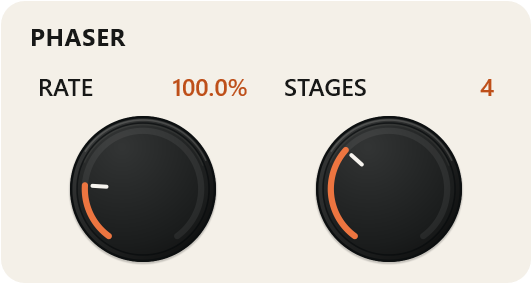
Adds a sweeping, notched character through multiple phase-shifting stages. Adjust the movement rate and choose 2, 4, 6 or 8 stages to change the complexity of the sound.
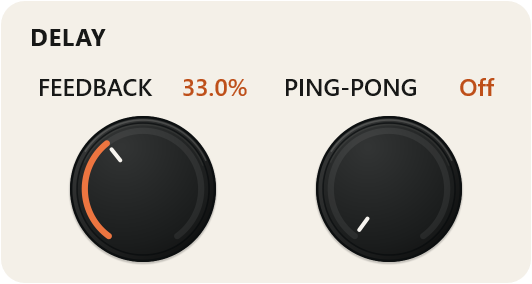
Adds echoes with adjustable delay time and feedback. Enable Ping-Pong to alternate the echoes between the left and right channels.
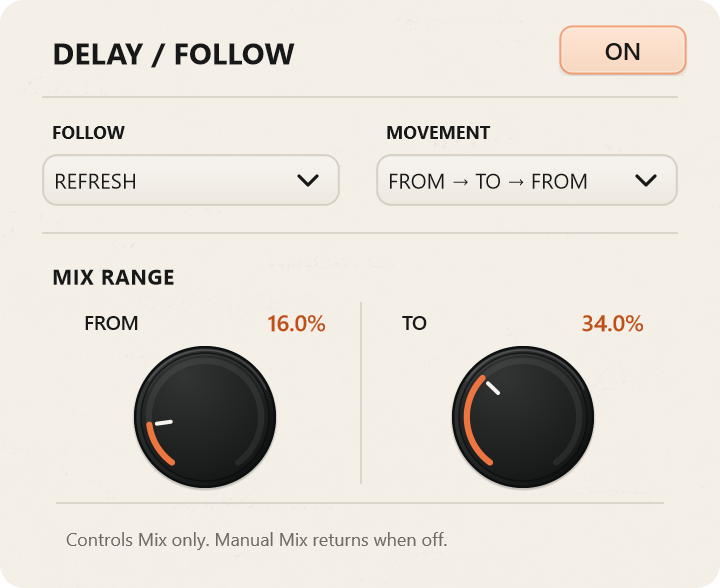
Adds space around the repeats. The main control combines room size and decay, while Pre-Delay separates the reverb from the initial sound and Diffusion shapes the tail’s density and stereo spread.
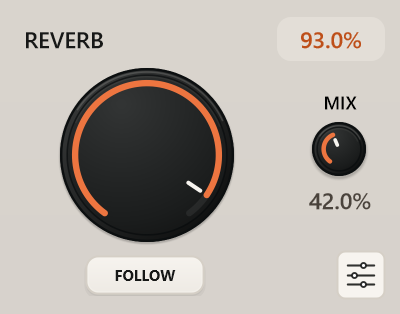
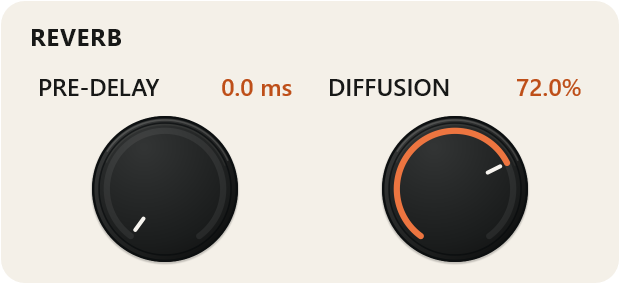
Effects with additional controls have their own settings windows. Open them when you need to adjust something more specific, such as Gate attack, filter resonance, distortion tone or delay feedback.
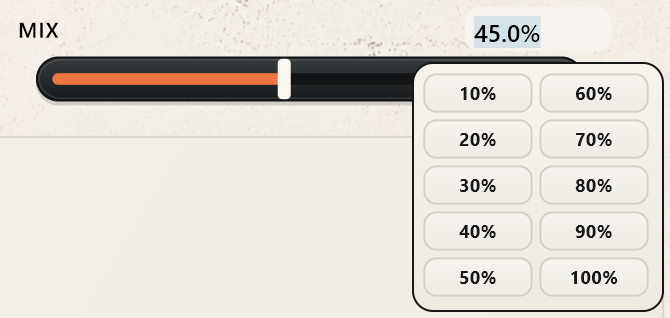
You can enter supported values numerically for precise adjustments rather than relying only on knob movements.
The waveform window shows the captured audio and its playback direction. Drag the IN and OUT fade handles to shape the slice’s edges.
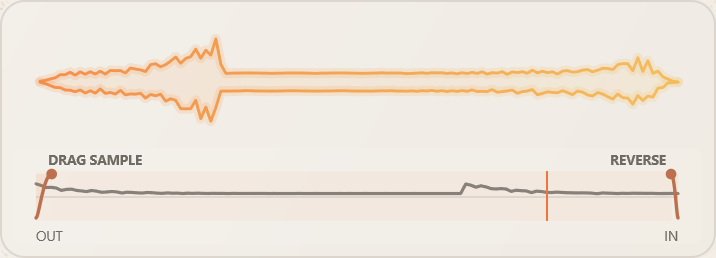

When you find a fragment you want to keep, drag it from the waveform window into your DAW as a WAV file. It’s a straightforward way to turn a moment discovered inside the effect into audio you can arrange and edit.
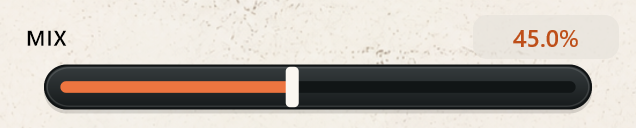
The main Mix control blends the original signal with the processed sound. Individual effect Mix controls let you balance each part of the effect chain separately.
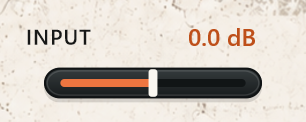
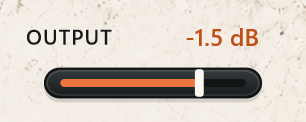
Input adjusts the level before capture, while Output controls the final level. Built-in meters help you keep track of both, and the plugin’s active parameters can be automated from your DAW.
The Power button enables or bypasses the complete effect.

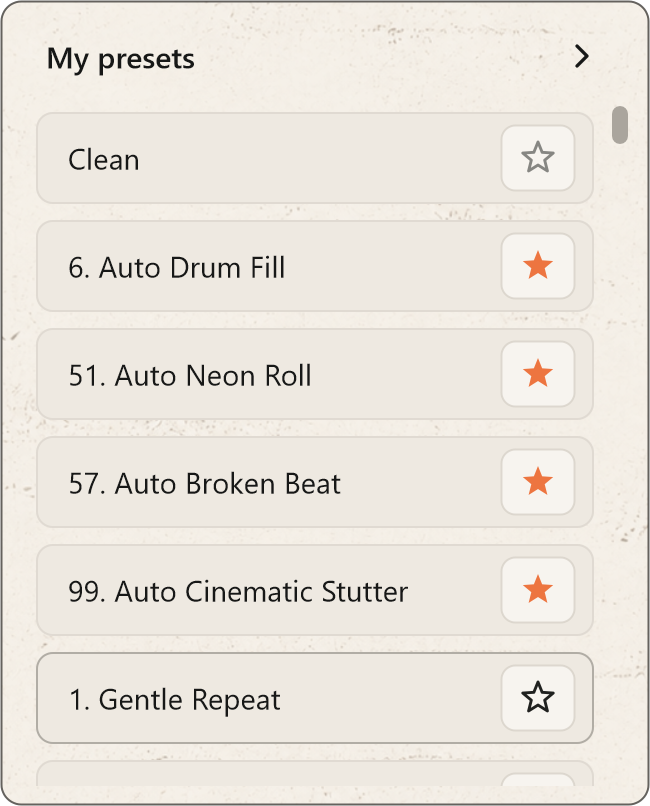
Start with 100 factory presets, covering rhythmic cuts, vocal treatments, modulation, lo-fi textures and spacious effects. Use Clean when you want to build a sound from the beginning.

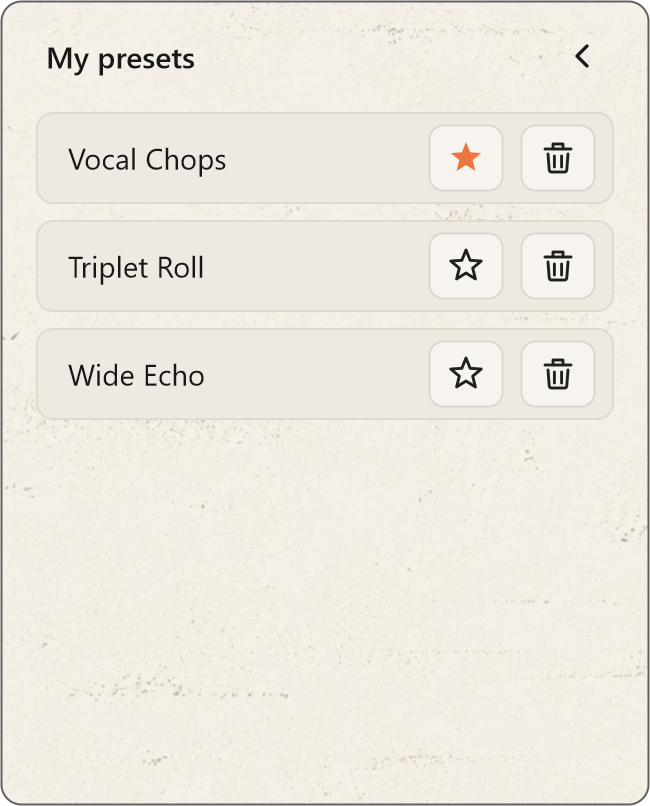
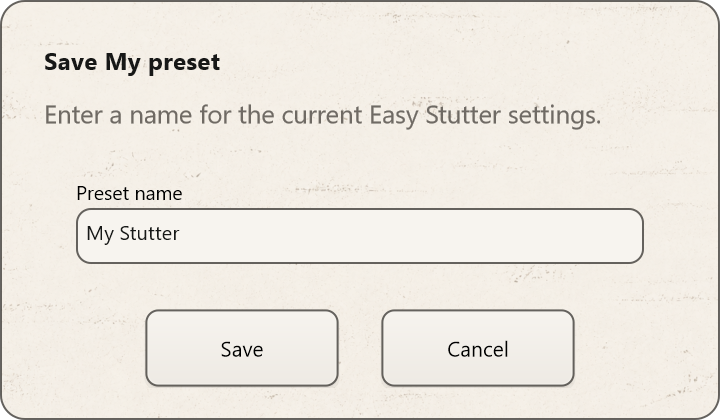
Mark favourites for quick access, or save your own settings in My Presets to return to them later.
Explore Easy Stutter in your own sessions before buying. The demo includes the same audio processing and creative tools as the licensed version, with no added noise, periodic muting or audio watermarks.
No account, license key or payment details are required to start.
Your seven-day trial starts automatically the first time you open the Easy Stutter interface, either in your DAW or in the standalone application. Downloading, installing or scanning the plugin does not start the trial.
The trial lasts seven consecutive days — 168 hours, not seven days of active use. The countdown continues while Easy Stutter and your computer are closed. Opening another instance or restarting your DAW does not restart it.
There are no demo-specific restrictions on saving presets or exporting captured slices.
Once downloaded, the demo can run offline. You do not need to register or activate a license to use the trial.
Internet access is required for activation and periodic license verification.
Open the license window inside Easy Stutter. It displays the demo status and the number of days remaining.
Easy Stutter stops applying its processing and passes the original audio through instead. It does not deliberately mute your track or add noise.
You can still open the interface and activate a license. Your saved presets and project settings are not deleted, but sessions using an expired demo will play without Easy Stutter’s processing until a valid license is activated.
The demo does not automatically become a paid subscription, and you will not be charged when it expires.
Purchase a license, then open the license window in your existing installation. Enter your purchase email and license key, select Activate, then enter the verification code sent to your email and select Confirm.
There is no separate paid installer to download. Activating a valid license enables processing in the same installation.
Activation guideInternet access is required for activation and periodic license verification.
Your purchased license is perpetual. This does not mean unlimited offline use: the local offline permission is time-limited and must be renewed through periodic license verification. Its expiry does not end your purchased license.
VST3 and Standalone.
VST3, Audio Unit and Standalone, with universal Intel and Apple Silicon builds. Requires macOS 11.0 or later.
LICENSE
A €35 perpetual personal license covers up to three active devices. After confirmed payment, the license key is sent to your purchase email. Activate it inside the plugin with an email verification code. Plus applicable taxes, calculated at checkout.
Plus applicable taxes, calculated at checkout.
Buy Easy Stutter — €35Checking secure checkout availability…
Windows x64 & macOS · VST3 / AU / Standalone
DownloadsLicense and activation helpShare your experience with Easy Stutter. Reviews appear after moderation.